Exterior House Painting Hamilton: The Walk-Around Before You Book
Give yourself half an hour, a torch and an old screwdriver before you ring anyone about exterior house painting in Hamilton. You are not pricing the job. You are working out which walls are simply tired, which are genuinely failing, and which have a water problem that no coating will fix.
A painter quoting your place sees it once, usually from the ground and in dry weather. An owner who has already walked the section slowly and pressed a thumb into a couple of sills turns up with better questions, and better questions produce a tighter scope. Everything below can be checked from the ground.
Here is the order we would walk a weatherboard home, elevation by elevation, and what each finding tends to mean once it reaches the written quote. Tomar Contracting Hamilton works through the same sequence when pricing.
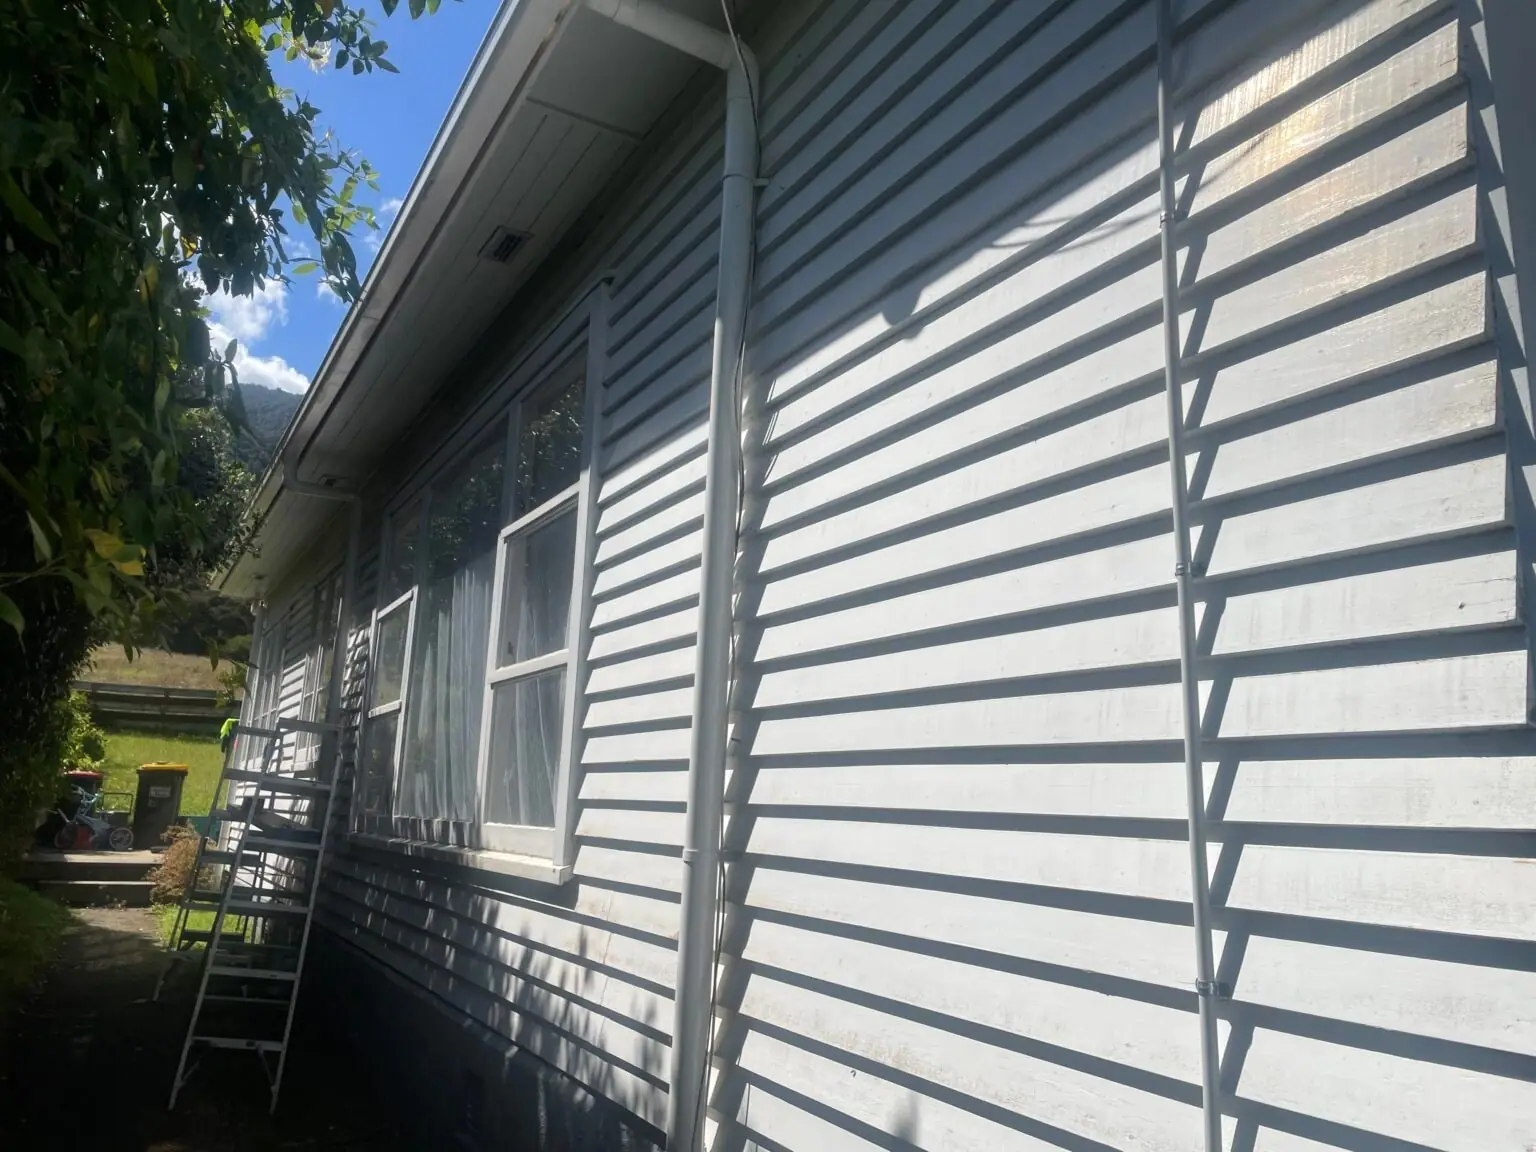 |
| Grey weatherboards on a Hamilton exterior during preparation, with a ladder set against the wall. |
Start on the north and west walls
These are the sun faces. Run a dry palm firmly along a board at shoulder height. If your hand comes away dusty, the binder in the old film has perished under UV, and that dust is what a new coat would be sticking to. Look also for fading much stronger on one wall than the next, and a rough, open feel where the film has thinned along the bottom edge of each board.
None of that is a disaster. It is a washing problem, and sometimes a priming problem. The quote should carry a plain line about removing chalk rather than sealing it in, and a note on whether a full primer coat is specified over exhausted old film.
While you are there, look at the board profile. Timber and fibre-cement sit side by side on plenty of Hamilton houses, usually because an extension or a repair arrived later, and the two need different repair methods and primer families. If you already know which is which, say so when you ask for a price.
The south side fails for the opposite reason
Round the back, in the shade, the enemy is damp rather than sun. Look for dark growth in the shadow line under each board, a green cast along the lower boards, and any cladding still cool and damp late in the day. The Waikato hands you heavy dew most of the year and fog that sits about until mid-morning in winter, so a wall that never gets a decent drying spell behaves nothing like one that does.
Growth painted over pushes back through the new film, usually inside the first wet season. The scope wants a treatment and rinse stage, real drying time before coating, and ideally a sentence about why that wall stays wet. Shrubs planted hard against the boards, soil built up over the ground clearance, or a downpipe emptying against the cladding are the usual causes. Older places around Claudelands and Hamilton East suffer worst, because the planting has closed in around them: https://hamilton.tomarcontracting.co.nz/claudelands-painters.html.
Windows, sills, board ends and corners
Now get close. This is where exteriors actually let go, and most owners walk straight past it.
Run a fingernail along the putty line on any timber joinery. Cracks and missing sections let water sit against the glazing rebate. Press the outer edge of each sill with your thumb, especially under the window corners; soft, spongy timber there is a repair, not a paint job. Then find the corners where board ends meet. Open joints, split ends and exposed end grain drink water far faster than the face of a board ever will.
All of that turned up on a circa-1910 villa restoration in Claudelands. The owners wanted the character of an older weatherboard home brought back; the walls showed old paint breaking up across the elevations, with deteriorated timber underneath in places. Testing the film for adhesion told us which paint could stay and which had to come off, and the boards, window sills and trim were dealt with ahead of the primer.
Follow the water from the roof edge to the ground
Step back and trace the path water takes. Spouting joints and downpipe outlets. Flashings above windows and doors. Fascia, barge boards and the soffit line, which deteriorate quietly because nobody looks up. The junction where a deck or step meets the cladding. Finally the bottom board, and its clearance above the paving or garden.
Exterior paint failure almost always sits below something rather than beside it. If you can see peeling under one spouting joint and nowhere else on that wall, you have found the cause on your own. Condition first and coating last is the same ordering used in the preparation sequence we work through on Waikato cladding.
Before anyone sands an older Hamilton home
Two materials change the method. Older paint may contain lead; older fibre-cement may contain asbestos. Both want identifying before a sander, scraper or water blaster touches the wall, and WorkSafe publishes guidance on each. That is not a reason to walk away from an older house, but it is a reason for the quote to say how the material was established and which preparation method follows.
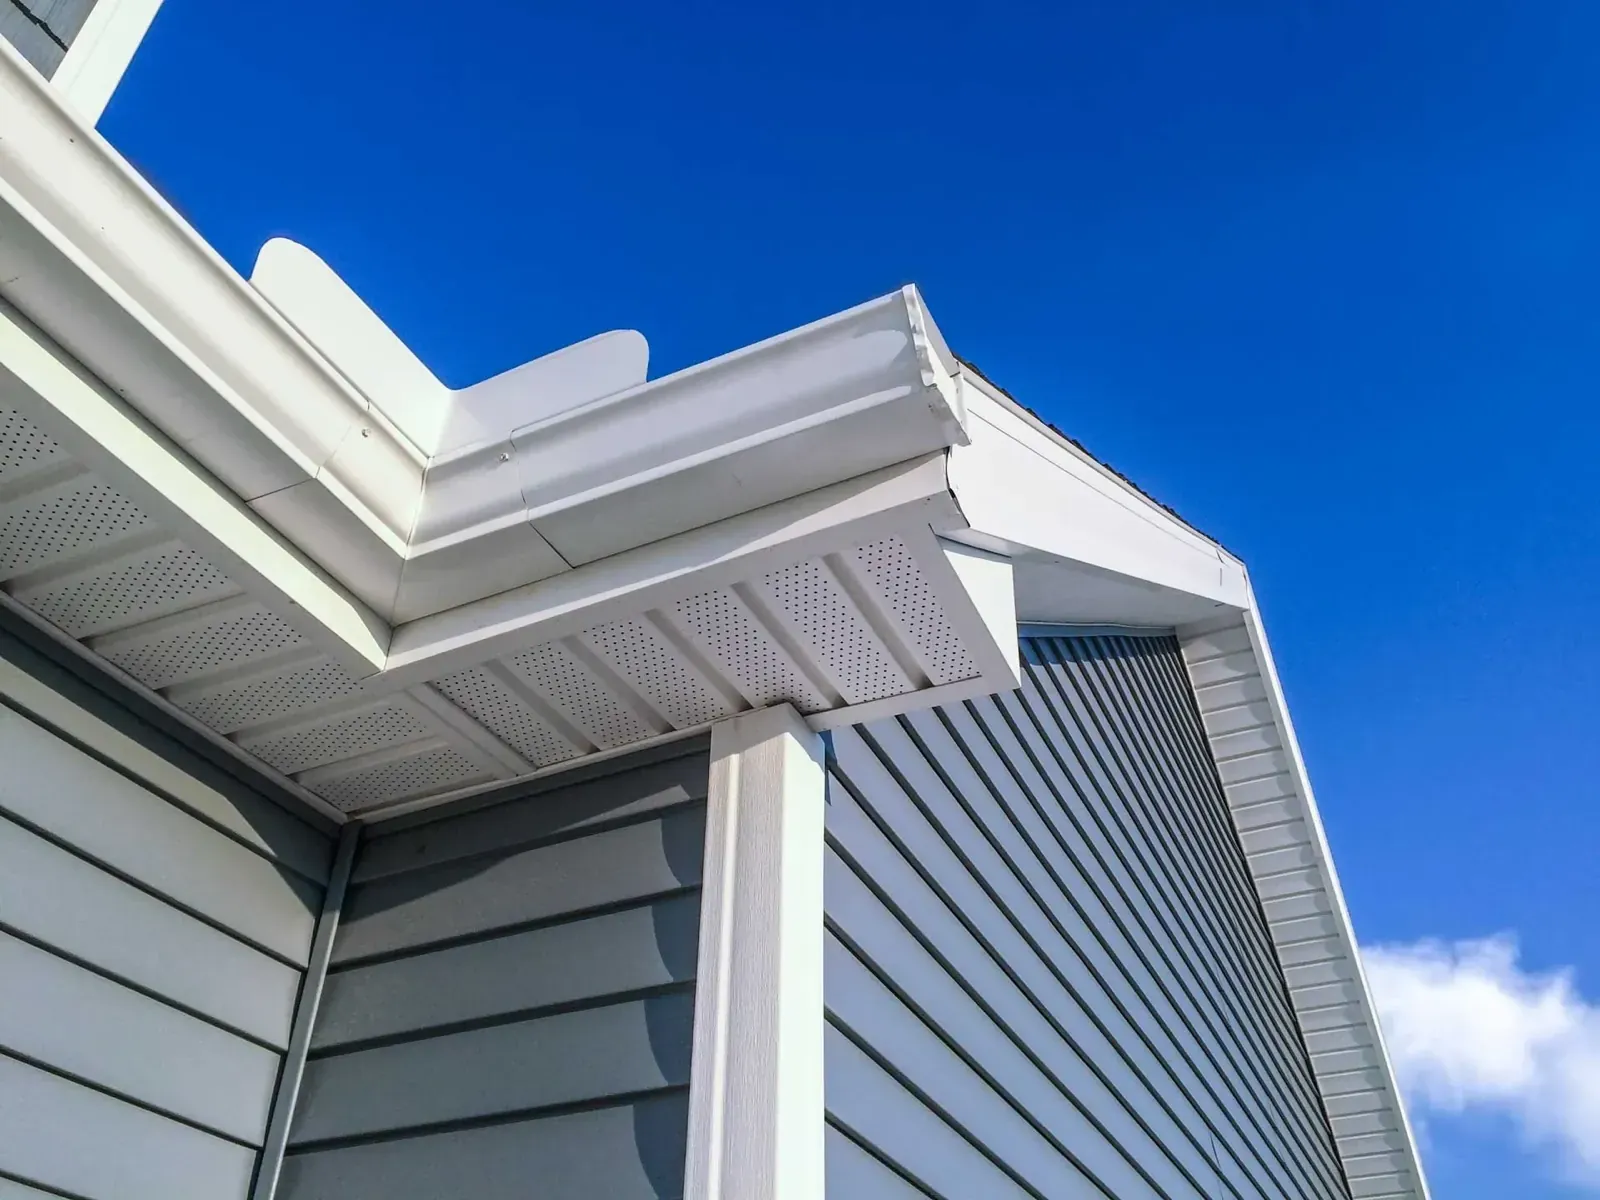 |
| Painted fascia, soffit, spouting and weatherboards after exterior painting. |
The walk-around checklist
- Dry-palm test at shoulder height on the north and west walls
- Growth, damp patches and ground clearance on the shaded and garden-facing sides
- Putty lines, sill edges and the corners where board ends meet
- Deck and step junctions, plus anywhere paint sits on a horizontal surface
- Spouting joints, downpipe outlets and flashings above windows and doors
- Fascia, barge boards and soffits, checked with binoculars rather than a ladder
- Anything soft under a thumb, marked with a strip of tape so the painter finds it
From the walk-around to an exterior house painting quote in Hamilton
Everything above is what an experienced hand is reading while pricing exterior house painting in Hamilton, so the more of it you have already noticed, the less guesswork ends up in the number.
Ask for the scope to name the surfaces, the preparation for each one, repairs included and repairs excluded, the paint system specified, access equipment, GST and what is left out. Then ask three follow-ups: where the adhesion checks were done and what they showed, what happens if a board proves soft once the old coating is off, and how weather delays will be communicated. Coating damp cladding, or working so late that dew lands on a wet film, undoes good preparation quietly.
One line worth carrying through all of it: a coating is only ever a finish over something already sound. Rot, a failed flashing and an active leak are not decorating problems, and each belongs to another trade before painting starts.
FAQ
What should I photograph before a painter visits?
Send a wide view of each elevation plus close-ups of the worn areas you found. Wide shots show access, height and how the house sits on the section; close-ups show the real condition of sills, board ends and shaded walls. Add your name and suburb so the reply can be specific.
My paint looks fine from the footpath. Is a walk-around still worth doing?
Yes, because exteriors fail at the edges long before the middle of a wall shows anything. Sills, board ends, soffits and the bottom board go first, all invisible from the street. Ten minutes up close tells you more than a year of driveway inspections.
I have found soft timber. Does that stop the repaint?
Not usually, but it changes the order of works. Mark it, mention it when you request a quote, and expect a repair assessment suited to the condition of that timber and the job it is doing. Repairs need curing time in the programme, easier to plan before a job starts than halfway through.
Tomar Contracting Limited – Hamilton & Waikato is a painting and plastering team working out of 59 Boundary Road, Claudelands, and quoting exterior work across Hamilton, Cambridge, Te Awamutu and the wider Waikato. Walk your own house first, then ring 0800 866 272 during weekday office hours and tell us what you found. A site assessment comes next, and the findings go into the written quote.


Comments
Post a Comment